Posts

Showing posts from August, 2020

Connect D365 CRM CDS Database From SQL Server

Image
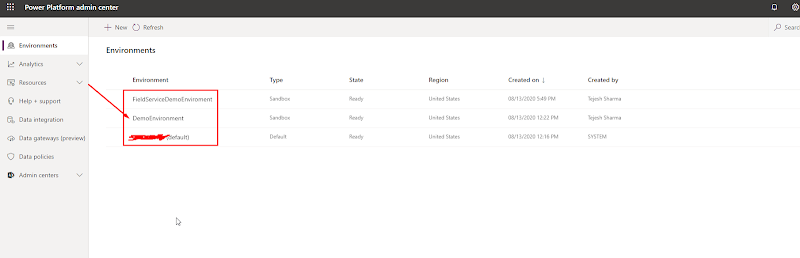
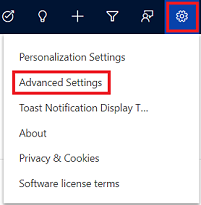
Connect D365 CRM CDS Database from SQL Server Many times, we feel like why I can’t access D365 CRM Database directly from MS SQL Server, so here is my blog that will guide you on how you can connect D365 CRM CDS Database using MS SQL Server. Steps to enable D365 CRM CDS Database to make it connect from MS SQL Server: Login to https://admin.powerplatform.microsoft.com/ using administrator credentials. In Environment section, click on your environment for which you want to enable D365 CRM CDS for MS SQL Server. (In my case I am clicking on DemoEnvironment as shown below.) When Environment opens click on settings in header. Settings page will open, Click on Product and then click on Features. When features Page opens enable TDS Endpoint (Preview) and click save. Now, we have successfully enabled D365 CRM CDS to connect it from MS SQL Server. Steps to Connect CDS Database from MS SQL Server: Open MS SQL Server. In connect to SQL Server Window enter Server name (It will be your D365 CRM UR

Register Web Hook on Dynamics 365 CRM Entity

Image
 Register Web Hook on Dynamics 365 CRM Entity Many times we get requirement to integrate 3 rd party application with dynamics 365 CRM and we write a plugin that calls Azure Function or Web API who actually Performs operation of Get or Post data from or To 3 rd Party Application, but we can avoid writing plugin by directly calling Azure Function or web API using Web Hook through Plugin registration tool. This blog will guide you on how to register a Web Hook on D365 CRM Entity. Steps to Register Web Hook:       1.    Open plugin registration tool and connect to your organization where you want to register Web Hook.         2.  After successful connection to organization you will see below screen. 3.   Click on register and select Register New Web Hook.        4.  After clicking on Register New Web Hook, you will be prompted to enter “ Name ”, “ End Point URL ”, “ Authentication ”, “ Key Values ” Fill in the required details. Note : In my case I entered TriggerWebHook as the name of We

D365 CRM Business card scan

Image
D365 CRM Business card scan To edit the mappings of Business card scanner control, refer below steps. 1. Select the Settings icon, and then select Advanced Settings. 2. The Business Management page opens. 3. On the navigation bar, select Settings, and then under Customization, select Customization. 4. Select Customize the System. 5. Under Components in the solution explorer, expand Entities, and then expand the Contact or Lead 6.  Select Forms. 7. Open the form of type Quick Create. 8. Locate and select the Business Card field on the form, and select Change Properties in the Edit 9.In the Field Properties dialog box, select AI Builder Business Card control on the Control 10.Select the property that you want to change the mapping for, and select the Edit icon to change the value the field maps to. 11. When done, select OK.