D365 CRM Business card scan
D365 CRM Business card scan
To edit the mappings of Business card scanner control, refer below steps.
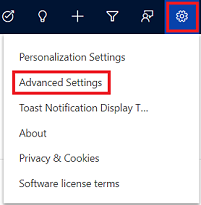
1. Select the Settings icon, and then select Advanced Settings.
2. The Business Management page opens.
3. On the navigation bar, select Settings, and then under Customization, select Customization.
4. Select Customize the System.
5. Under Components in the solution explorer, expand Entities, and then expand the Contact or Lead
6. Select Forms.

7. Open the form of type Quick Create.
8. Locate and select the Business Card field on the form, and select Change Properties in the Edit

9.In the Field Properties dialog box, select AI Builder Business Card control on the Control

To edit the mappings of Business card scanner control, refer below steps.
1. Select the Settings icon, and then select Advanced Settings.
2. The Business Management page opens.
3. On the navigation bar, select Settings, and then under Customization, select Customization.
4. Select Customize the System.
5. Under Components in the solution explorer, expand Entities, and then expand the Contact or Lead
6. Select Forms.

7. Open the form of type Quick Create.
8. Locate and select the Business Card field on the form, and select Change Properties in the Edit

9.In the Field Properties dialog box, select AI Builder Business Card control on the Control

10.Select the property that you want to change the mapping for, and select the Edit icon to change the value the field maps to.
11. When done, select OK.

Comments
Post a Comment